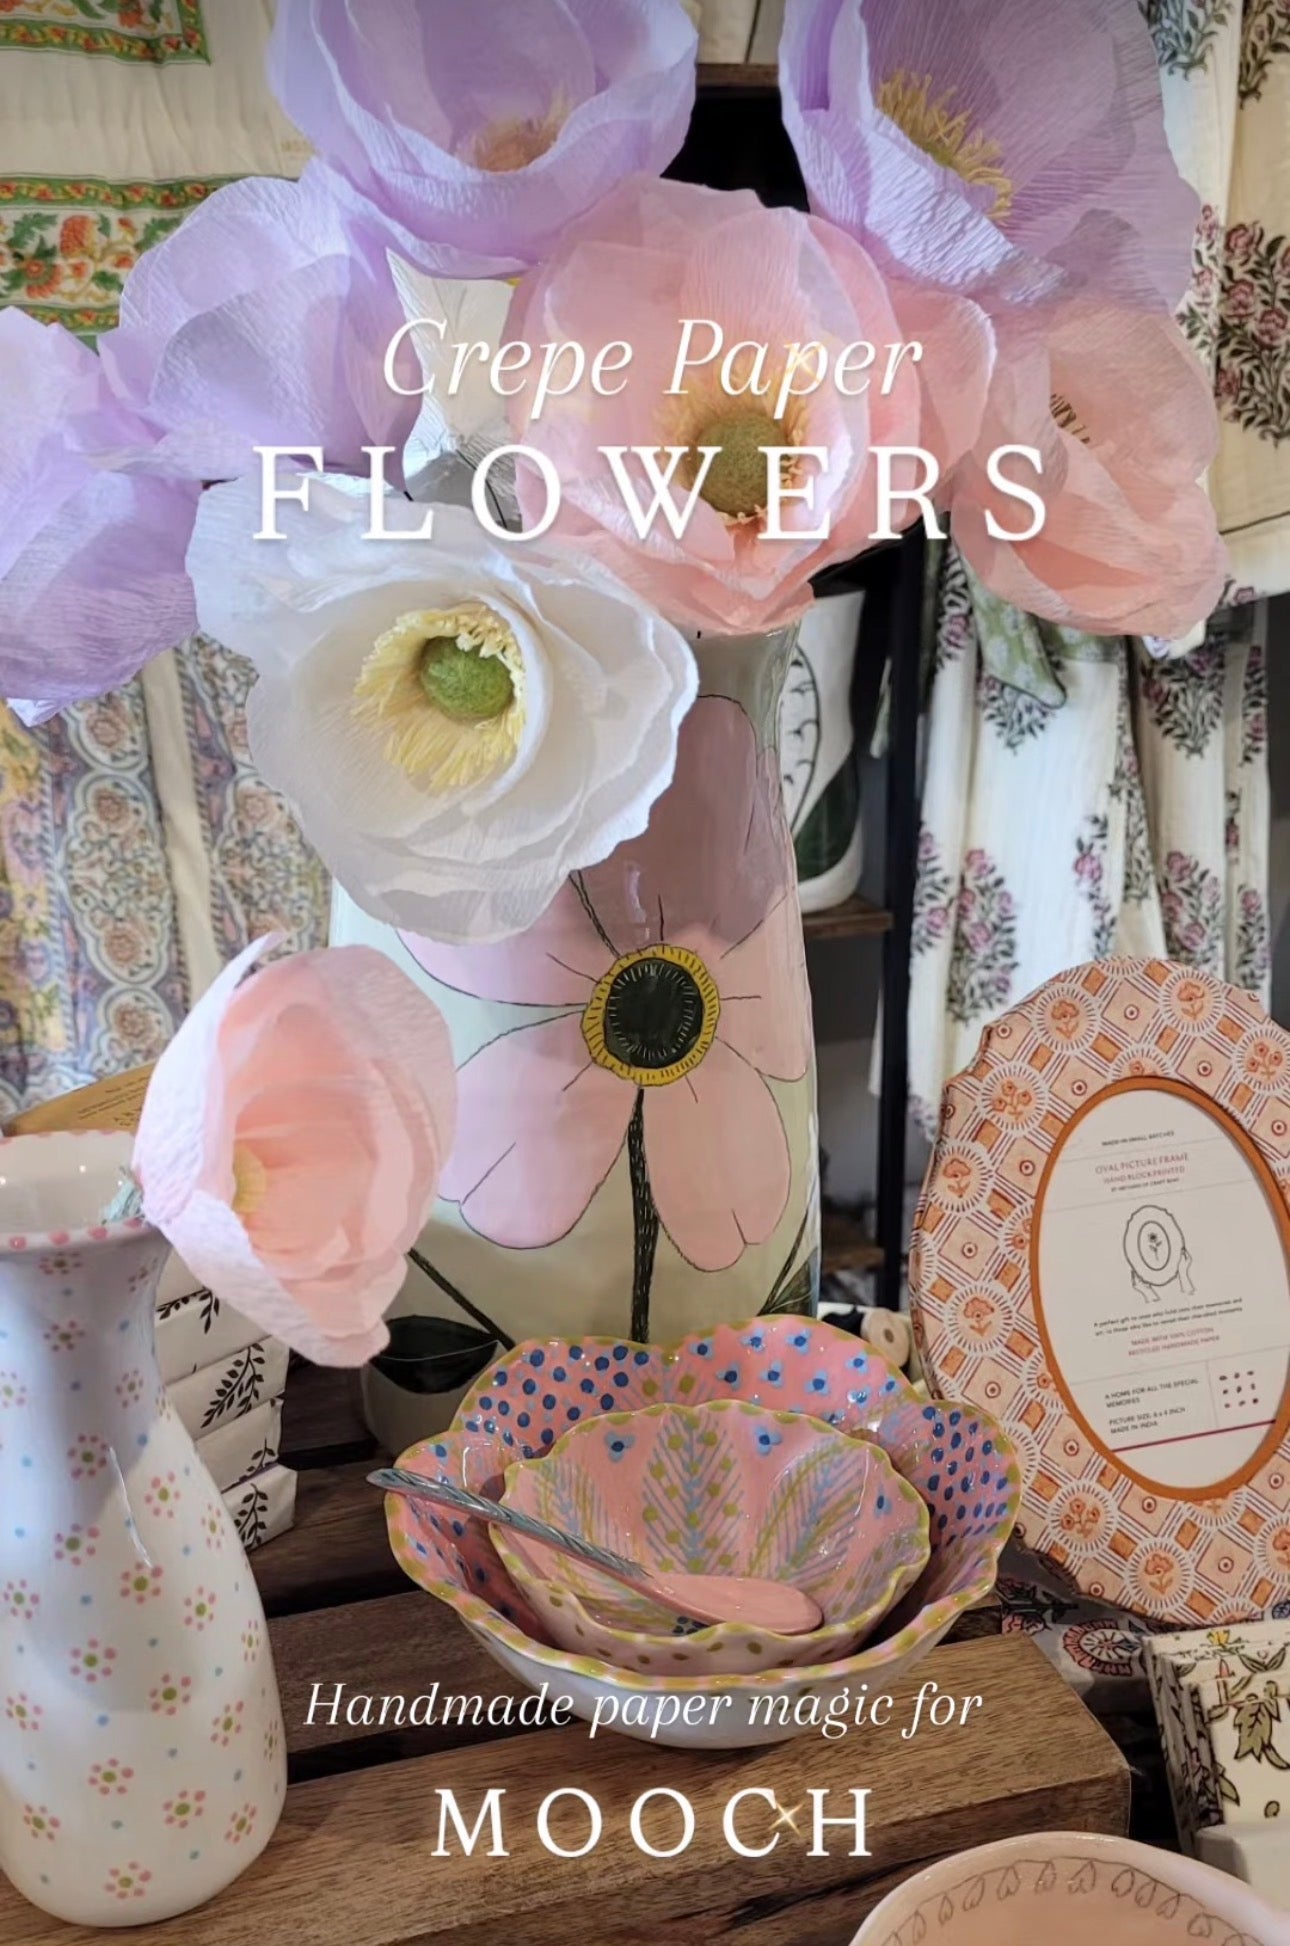
How to Make Handmade Crepe Paper Flowers: A Simple Spring Craft
Crepe paper flowers are a simple, joyful Spring craft and a lovely way to bring colour into your home. Unlike fresh blooms that fade within days, these handmade flowers last indefinitely, making them a sustainable and beautiful addition to your decor.
Whether you're creating a vibrant posy for your dining table or crafting individual stems to dot around your home, this tutorial will guide you through the process step by step.
What You'll Need
Before you begin, gather these materials:
- Crepe paper in your chosen colours
- Sharp scissors
- Floral wire
- Floral tape
- Hot glue gun and glue sticks
Top tip: Choose crepe paper rather than tissue paper - the stretch and texture of crepe paper creates more realistic, organic-looking petals.
Step 1: Create the Flower Centre
The frilled centre is what gives your paper flower its character and dimension.
Start with a small strip of crepe paper in your chosen centre colour. Carefully snip along the long edge to create a delicate frill - think of the texture of a carnation or the centre of a dahlia.

Apply a small dot of hot glue to the end of the paper strip and attach it to the top of your floral wire. Carefully roll the strip of paper around the wire, keeping the tension even as you go. Secure the free edge with another dot of hot glue.

Once secured, gently tease out the frill with your fingers, coaxing it into a soft, natural shape. This frilled centre will be the heart of your flower.

Step 2: Cut and Shape the Petals
Now for the petals - this is where your flower truly comes to life.
Select a colour of crepe paper for your petals. Carefully cut a selection of teardrop or petal shapes. You may want to create a variety of sizes, starting smaller and gradually increasing as you build out the bloom.
Here's the magic: crepe paper has a natural stretch. Working with the grain of the paper, use your fingers to gently stretch and mould each petal into an organic, curved form. Cup the centre slightly, curve the edges, and don't worry about perfection - nature is beautifully imperfect, and so should your petals be.

Step 3: Attach the Petals
Building your flower is a meditative, layering process.
Use a small dot of hot glue at the base of each petal and attach it to the base of the frilled flower centre. Work slowly, building up the petals one by one and teasing each one out to create a natural, dimensional shape.
Layer the petals around the centre point, slightly overlapping them as you go. You may wish to increase the size of the petals as you build outward, creating depth and fullness.
Once you have a fair-sized bloom, step back and adjust the petals. Gently bend, twist, and shape them until your flower looks natural and individual. No two flowers should look exactly alike - that's where the beauty lies.


Step 4: Finish the Stem
To complete your flower, wrap the base of the petals and the floral wire with floral tape, creating a cohesive, polished stem. Start at the base of the bloom and work your way down the wire, stretching the tape slightly as you wrap for a smooth finish.
Styling Your Paper Flowers
These beautiful paper flowers look wonderful styled in posies, so create a handful of blooms in a variety of colours for maximum impact. Mix different sizes and shades to create depth and interest.
Display them in a simple vase on your dining table, tuck them into a jug on a shelf, or create individual stems to brighten up your workspace. They're also lovely for styling photoshoots, events, or as handmade gifts.

Get Creative
Paper flowers can be customised in endless ways, making them perfect for any occasion:
- Create soft pastels for a Spring tablescape
- Use bold, saturated colours for a summer celebration
- Experiment with metallic or patterned crepe paper for a modern twist
- Add leaves cut from green crepe paper for extra realism
Remember: nothing in nature is perfect, and that is where the beauty lies. Embrace the handmade quality of your flowers - the slight variations, the organic shapes, the individuality of each bloom.
Be creative, have fun, and enjoy the slow, meditative process of making something beautiful by hand.


